我主要写了一下hexo + Nex T + github + Travis CI构建一个持续部署的个人博客,这是我搭建完我的博客发表的第一篇博文,大家也可以先上官网看一些文档hexo、Nex T,这些文档写的也很详细,可以看看其中的操作以及配置,那下面我们开始吧!!!
安装hexo
安装hexo有两种方式
1、npm安装hexo
首先去node.js官网下载一个LTS版本的就好,并且安装
1 | $ npm install hexo-cli -g |
2、yarn安装hexo
首先去yarn官网下载yarn并且安装
1 | $ yarn global add hexo-cli -g |
初始化hexo
1 | $ hexo init blog |
1 | $ cd blog |
1 | $ hexo g |
1 | $ hexo s |
浏览器访问localhost:4000
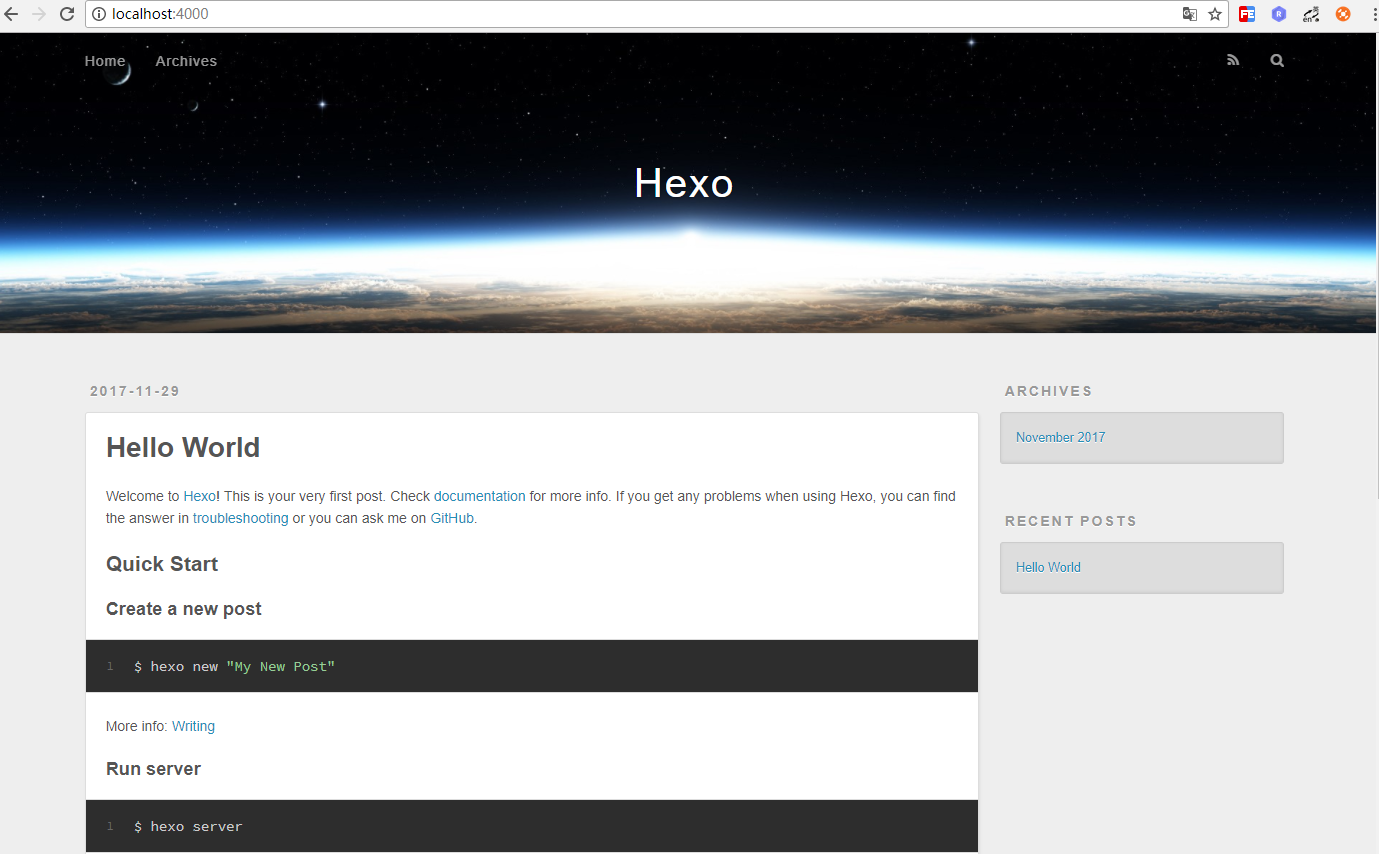
更换主题为NexT
1 | $ git clone https://github.com/iissnan/hexo-theme-next themes/next |
NexT主题将下载到blog/themes/next
nextx文件夹会生成一个.git的隐藏文件还有一个.github文件,需要将这两个文件都删除,以免影响我们往github上面传文件时发生冲突
修改blog下的_config.yml文件
修改前: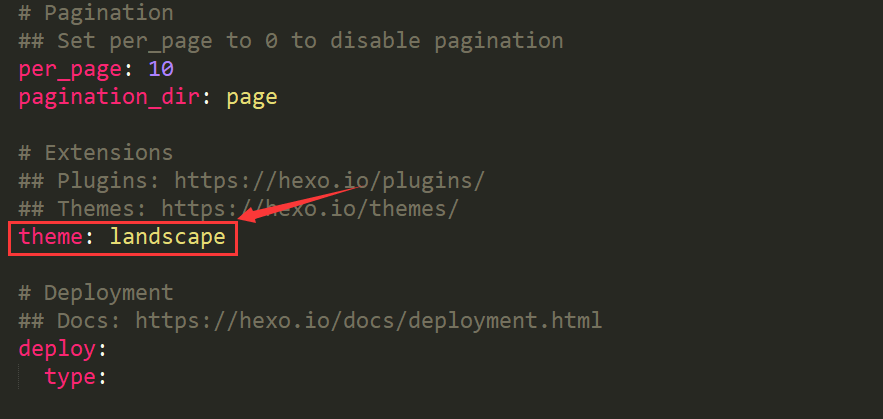
修改后: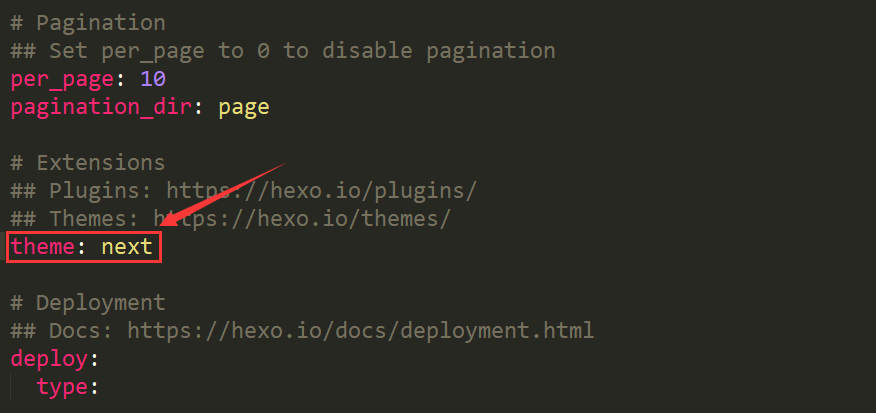
继续执行:1
$ hexo cl
1 | $ hexo g |
1 | $ hexo s |
浏览器访问localhost:4000
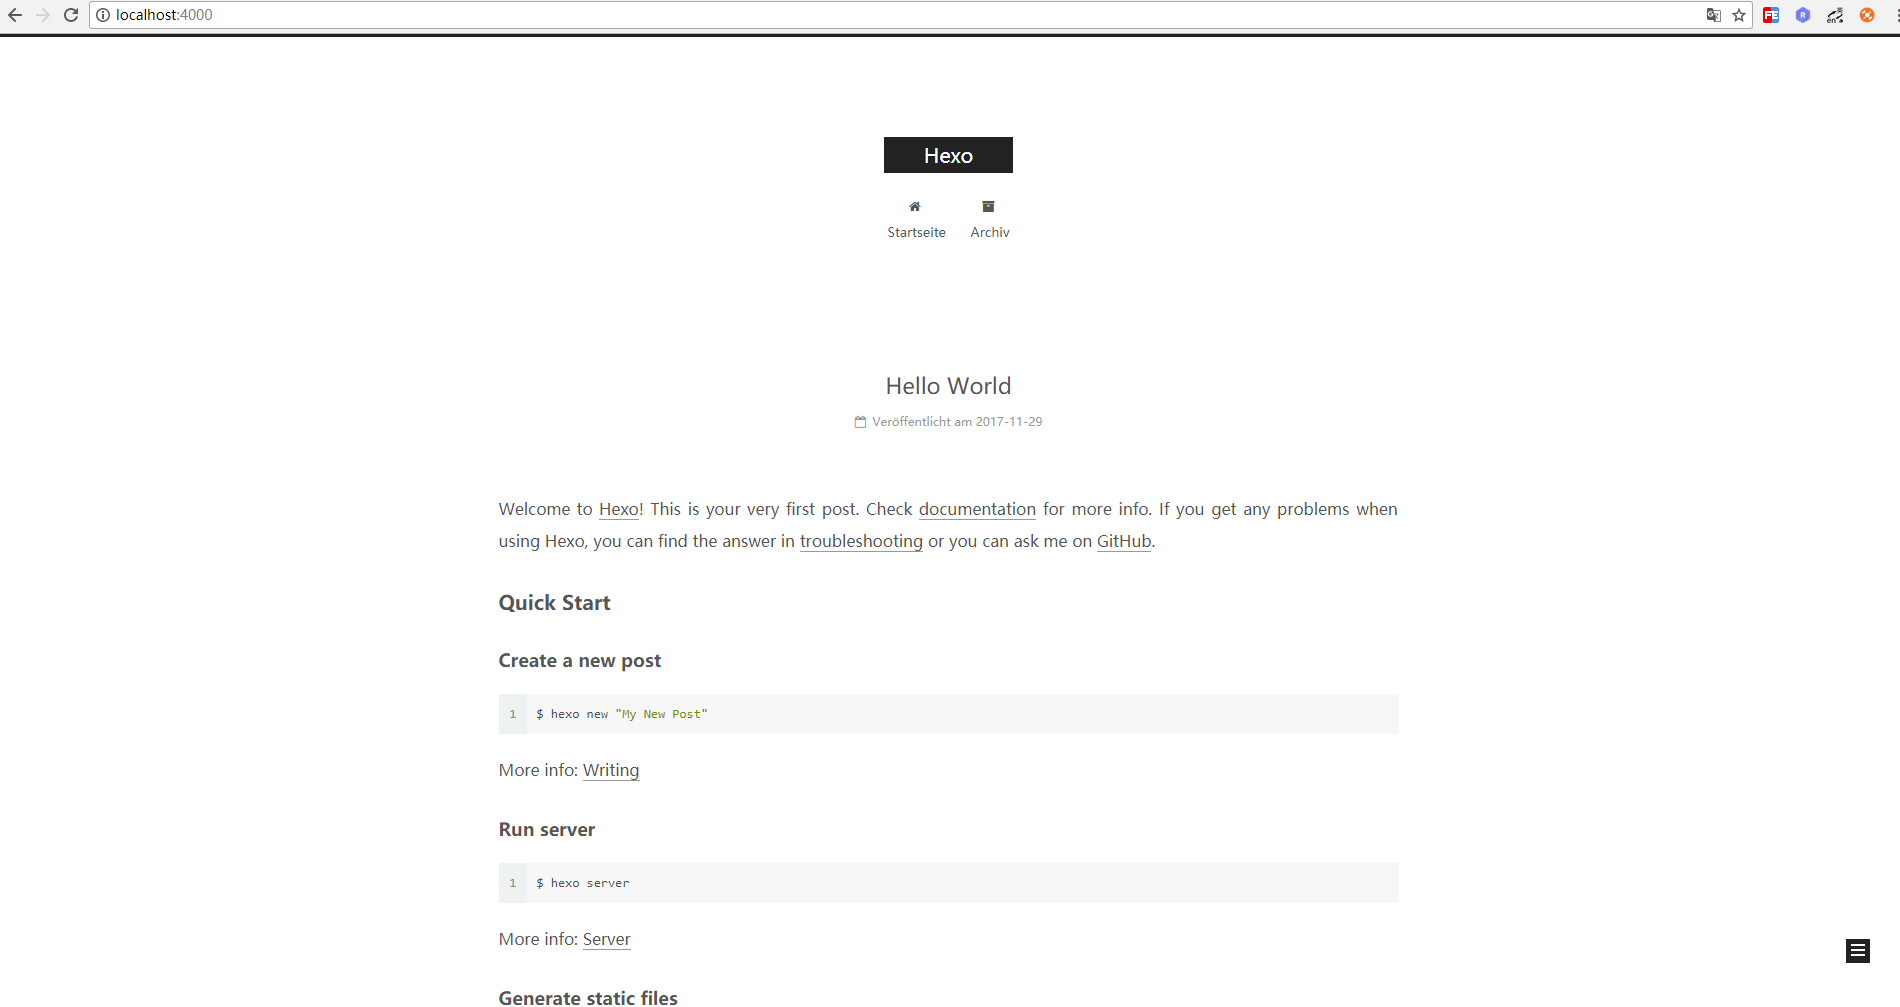
创建github仓库
1、创建仓库
登录你的github账号,并创建仓库
仓库名为:username.github.io——username为你的github账户用户名
(注:仓库的名一定要为”用户名.github.io”)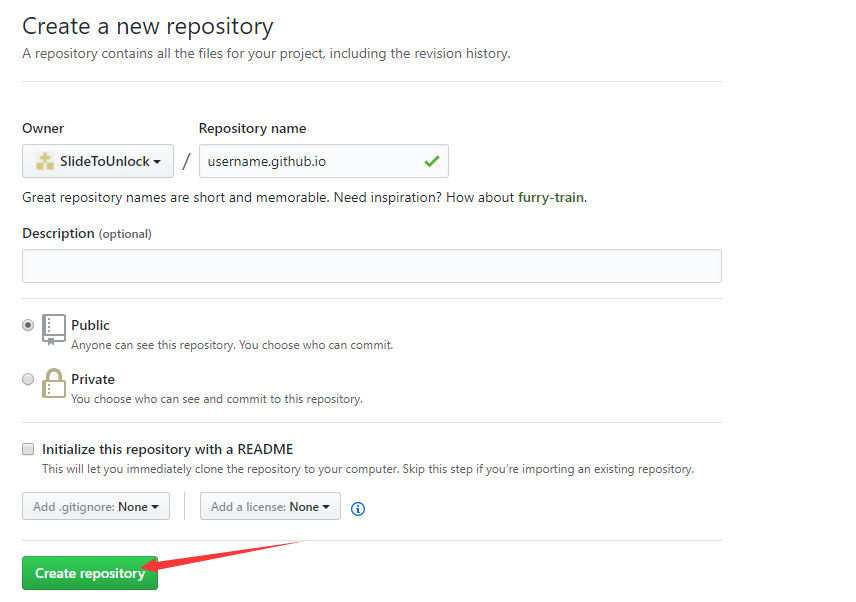
2、创建生成博客的分支
(注:生成博客一定在主分支——master分支)
本地需要安装Git,大家可以自己到Git官网去下载
拉取远程github仓库到本地
进入到文件夹,Shift+鼠标右键打开Git Bash窗口
执行以下命令:1
$ git init
1 | $ git clone git@github.com:username/reponame.git #username:github的账户名,reponame:仓库名 |
1 | $ cd reponame #reponame为你拉取的仓库名 |
1 | $ git checkout -b master |
1 | $ touch README.md |
1 | $ vim README.md # i 插入内容“这里是博客生成的分支” :wq 保存退出 |
1 | $ git add . |
1 | $ git commit -m "blog" |
1 | $ git push origin master |
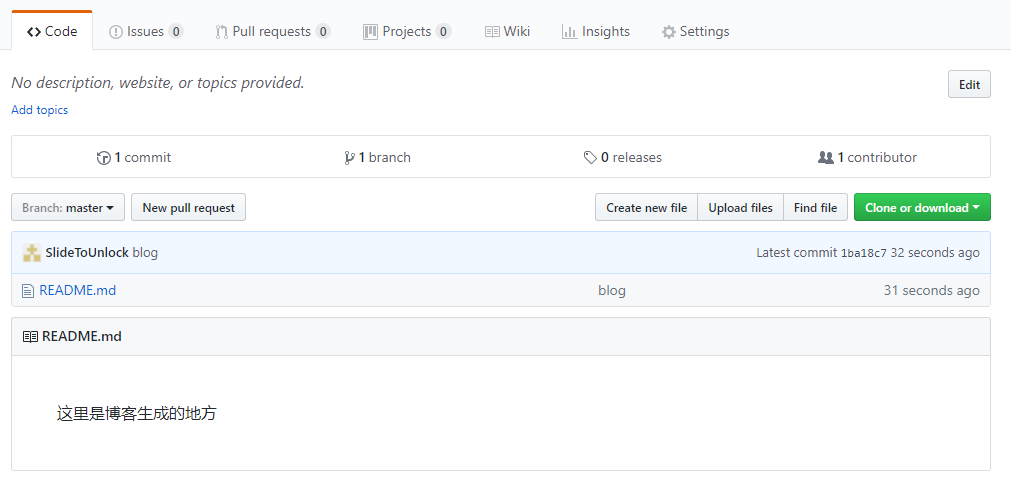
3、创建源文件分支
1 | $ git checkout -b source |
1 | $ vim README.md # i 修改内容为“这里是博客源码的地方” :wq 保存退出 |
1 | $ git add . |
1 | $ git commit -m "blog source" |
1 | $ git push origin source |
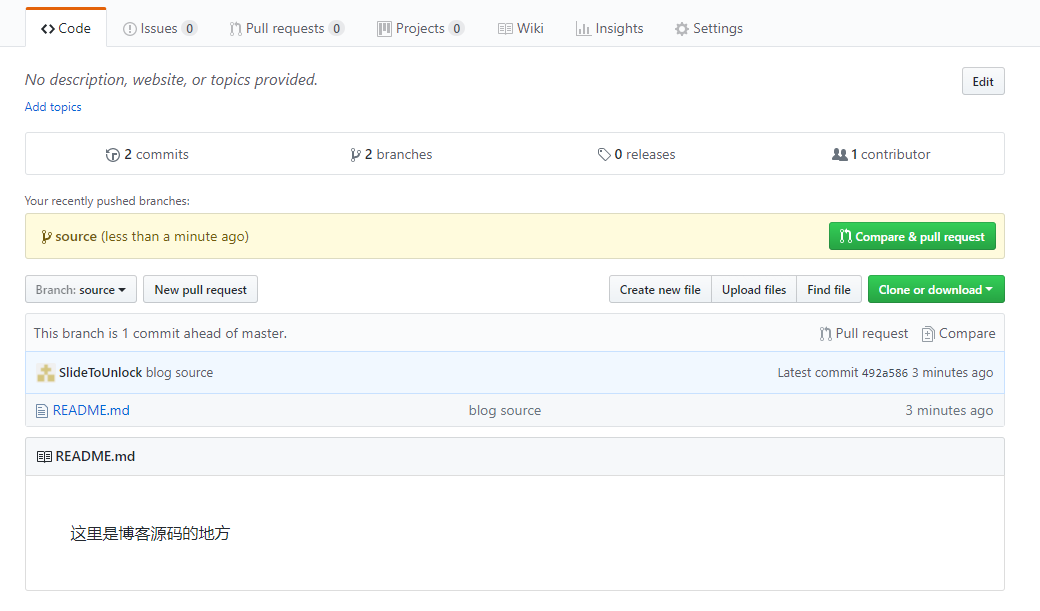
Travis CI的集成
首先需要进入Travis CI官网的首页
登录Travis CI,直接授权github账号登录就好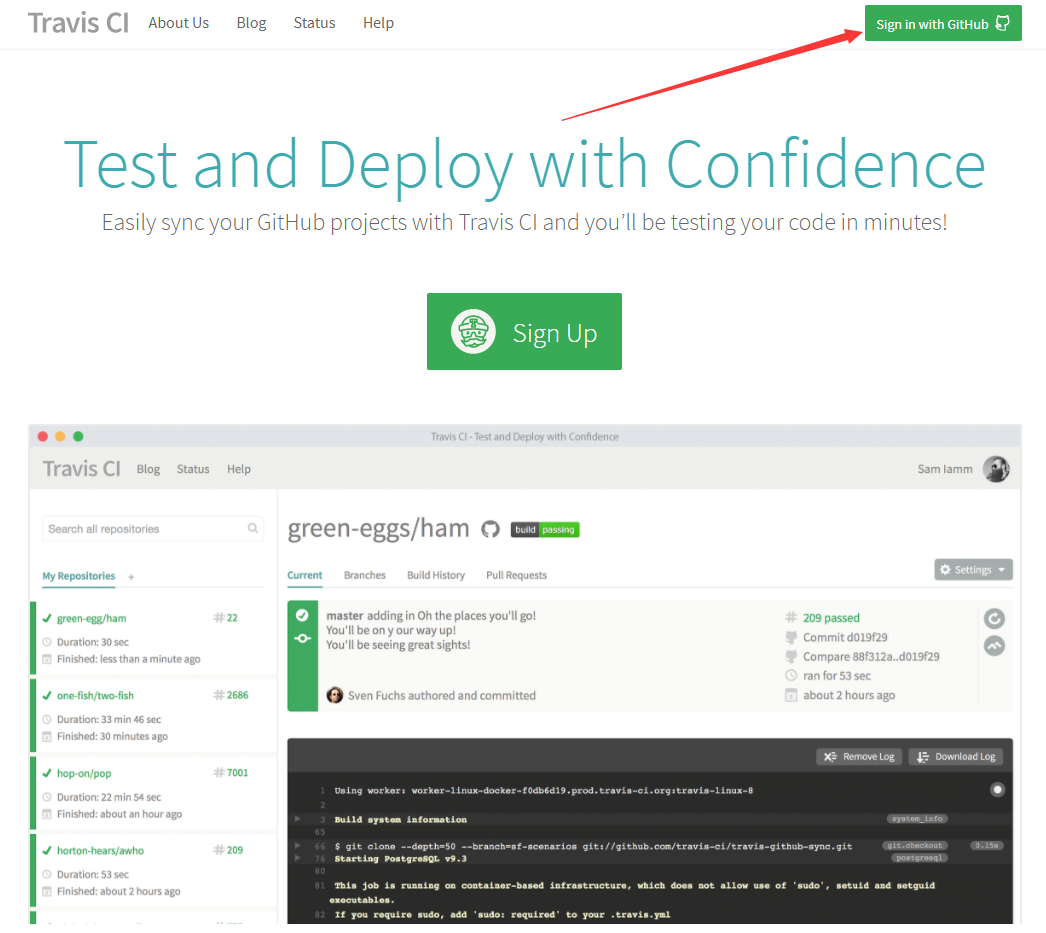
添加github仓库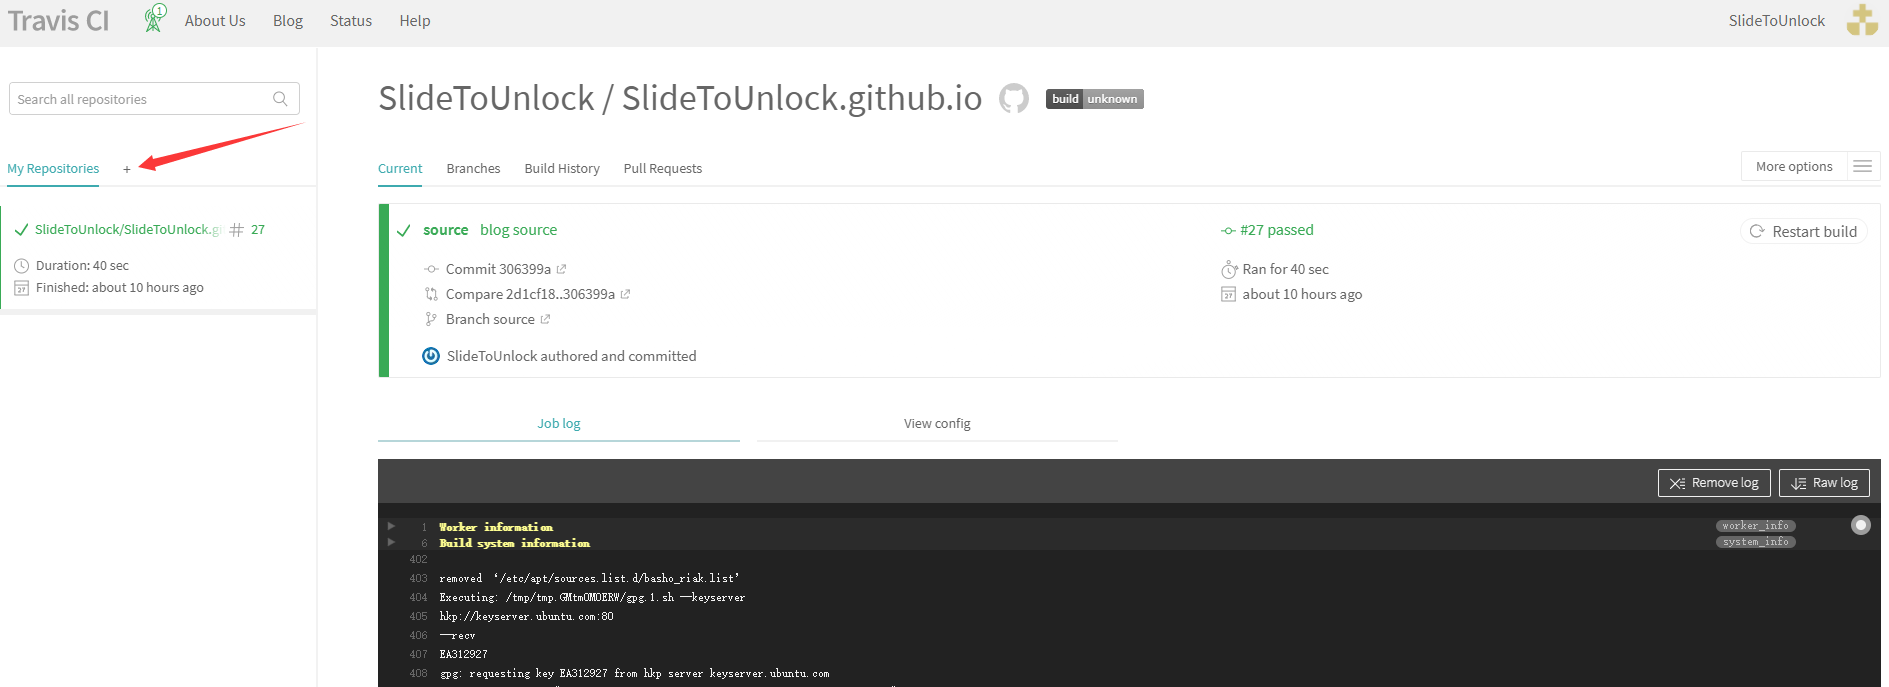
把准备好的博客仓库添加进来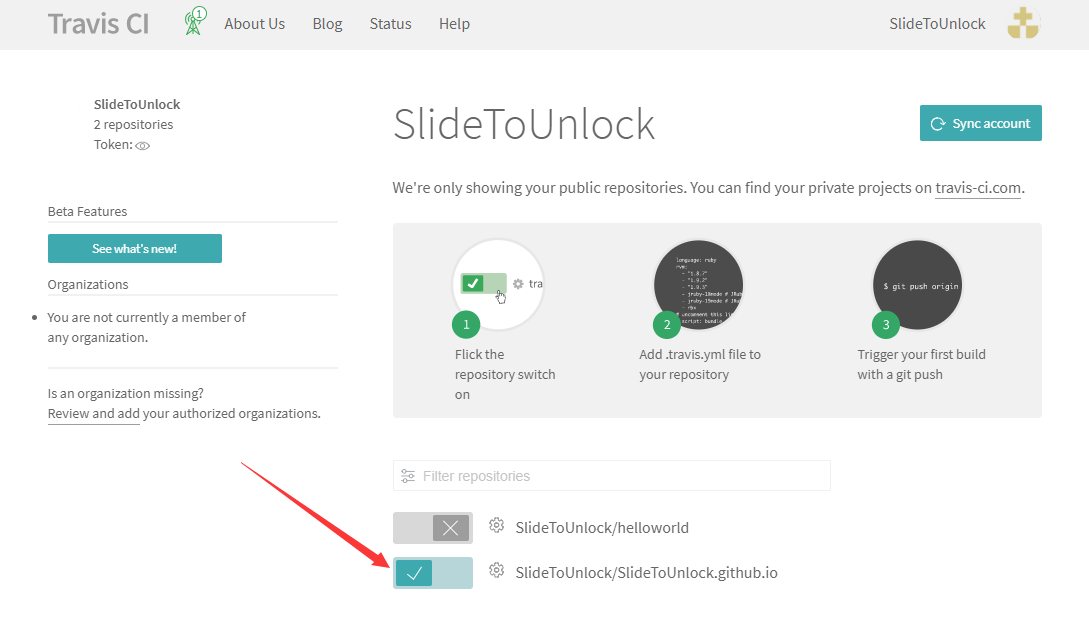
进入设置页面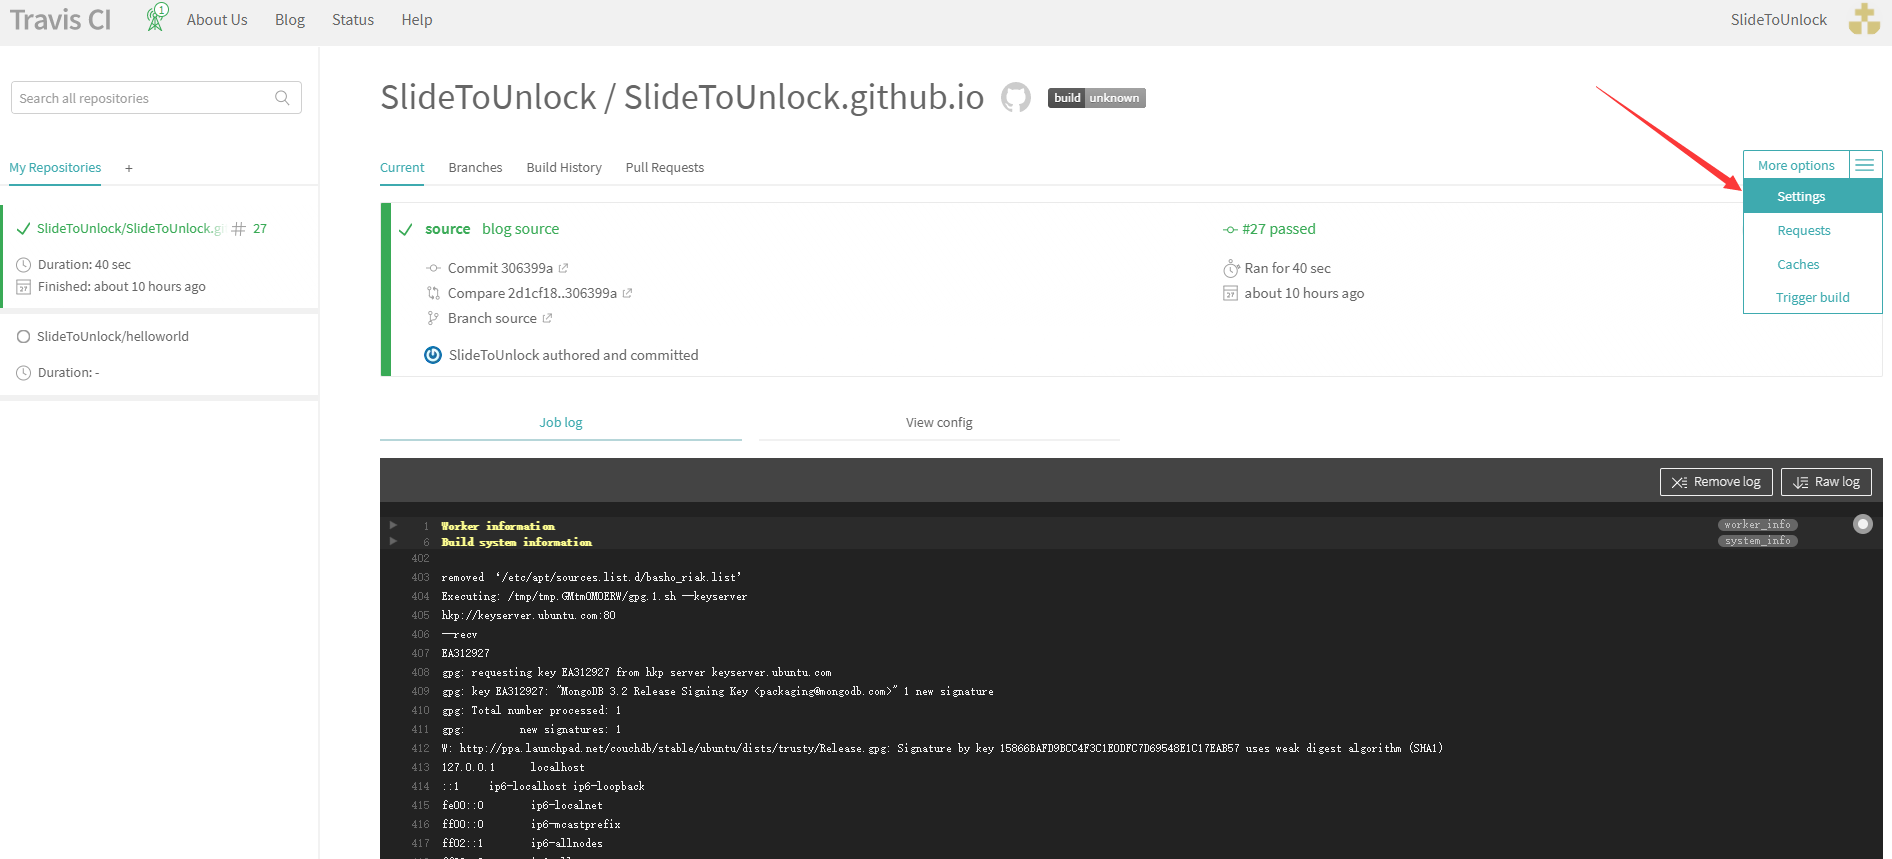
设置一些配置和参数
GH_REF:仓库地址 (如:github.com/用户名/用户名.github.io)
GH_USERNAME:github用户名
GH_EMAIL:github的邮箱地址
GH_TOKEN:github的token
这里讲一下github的token的获取方式:
Settings——>Developer settings——>Personal access tokens——>Generate token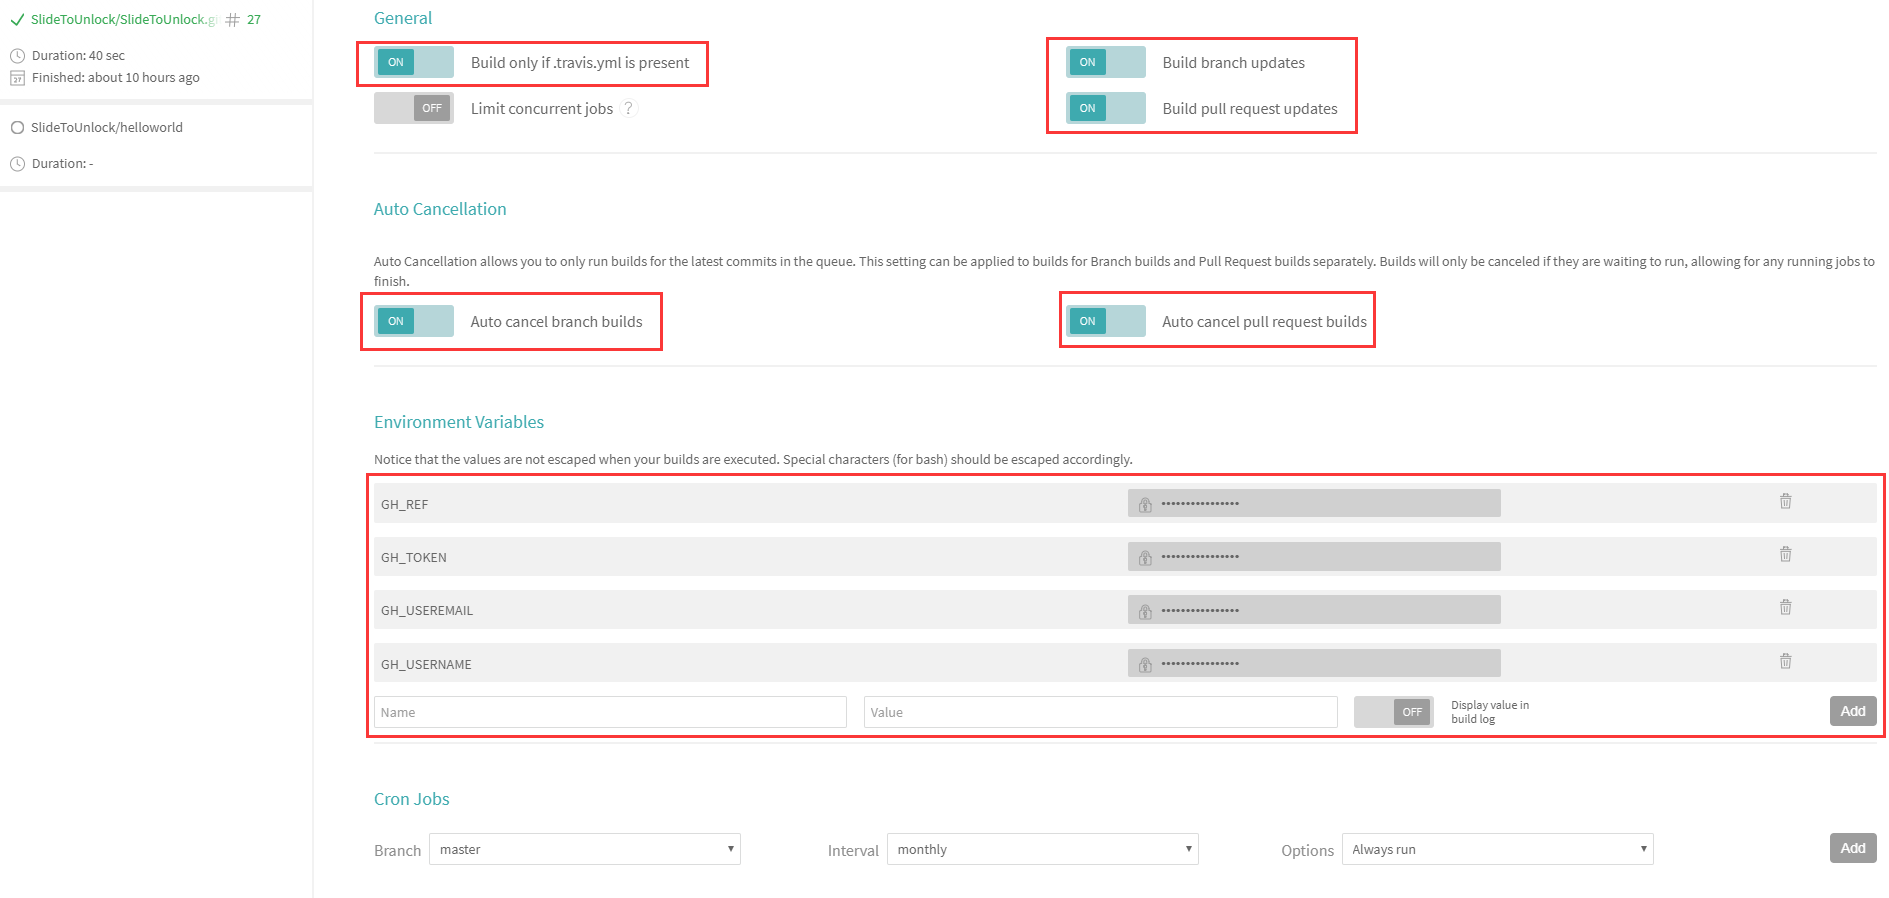
同时还要在你的本地仓库里面新建一个.travis.yml文件,如下配置1
2
3
4
5
6
7
8
9
10
11
12
13
14
15
16
17
18
19
20
21
22
23
24
25language: node_js #设置语言
node_js: stable #设置相应的版本
install:
- npm install #安装hexo及插件
script:
- hexo cl #清除
- hexo g #生成
after_script:
- cd ./public
- git init
- git config user.name "${GH_USERNAME}" #修改成自己的github用户名
- git config user.email "${GH_USEREMAIL}" #修改成自己的GitHub邮箱
- git add .
- git commit -m "blog generate"
- git push --force --quiet "https://${GH_TOKEN}@${GH_REF}" master:master #GH_token就是在travis中设置的token
branches:
only:
- source #只监测这个分支,一有动静就开始构建
env:
global:
- GH_REF: ${GH_REF}
hexo github Tracis CI 的整合
1、把.travis.yml推送到github远程仓库1
$ git add .
1 | $ git commit -m "blog source" |
1 | $ git push origin source |
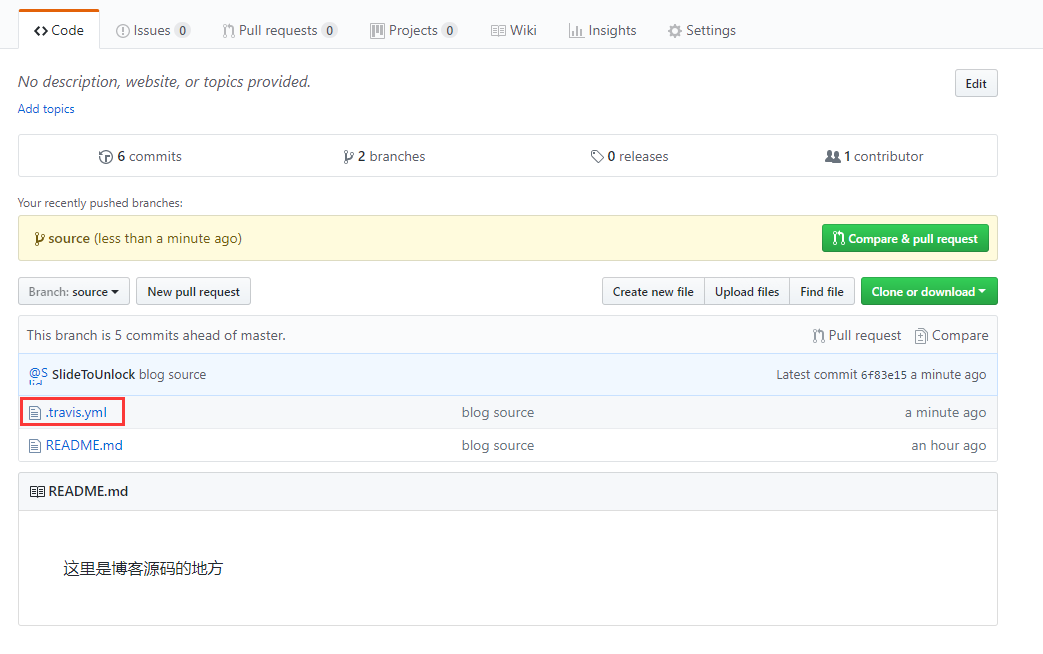
2、把blog文件夹里面的内容复制到本地的github仓库文件夹
在把文件提交给github之前我们还需要配置一下_config.yml文件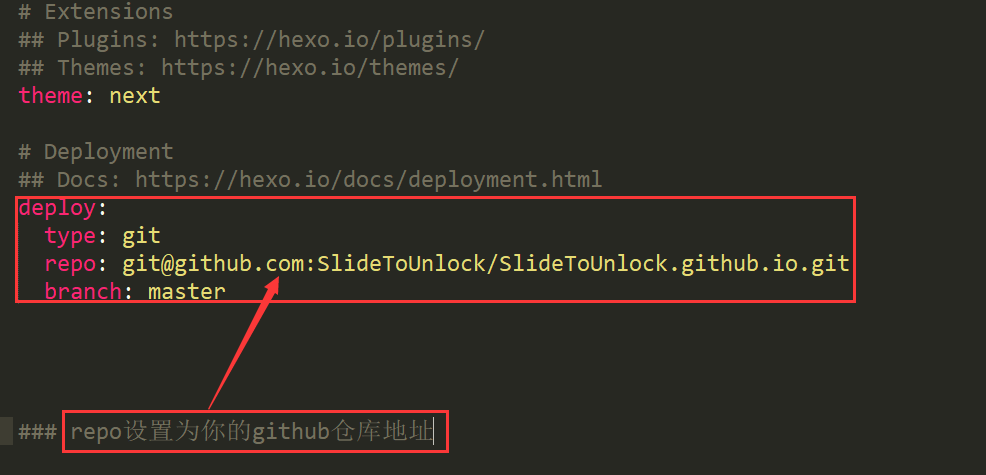
继续执行:1
$ git add .
1 | $ git commit -m "blog source" |
1 | $ git push origin source |
END
在Travis CI的界面上你可以看到,博客构建的过程和构建日志
在构建完成后,你就可以进入自己的博客了
地址为:https://slidetounlock.github.io (把slidetounlock改为你自己的github用户名)